If you’ve ever tried to crochet in the round, you know that a small hole is often left in the center. But what if you could start your project with a clean, tight center every single time? That’s the magic of the magic ring. It’s a fundamental technique that allows you to start projects like amigurumi, granny squares, hats, and flowers with no gaps. Once you get the hang of it, you’ll never start a project in the round any other way.
Table Of Contents
Why Use a Magic Ring?
- No holes in the center – looks much cleaner than a chain loop.
- Adjustable – you control how tight the center is.
- Perfect for amigurumi – no stuffing showing through.
- Beginner-friendly – it’s really just a loop with stitches worked inside.
If you’re a beginner in crochet, this is one technique you’ll want to learn early.
This post may contain affiliate links. I may earn a small commission on qualifying purchases at no additional cost to you!
Materials
What you will need to make a magic ring:
- Yarn (cotton or acrylic is great for practice; I’d go with worsted weight if you’re new).
- Crochet hook (check your yarn label – usually 4 mm or 5 mm is perfect for medium yarn).
- Scissors to trim your yarn.
- Optional: stitch marker (super handy if you lose track of your rounds).
In this tutorial I am using
- Hobii Friends 8/4 | Color French Blue
- 3,5mm hook
Step-by-Step: How to Crochet a Magic Ring
Ready? Here’s the simple version:
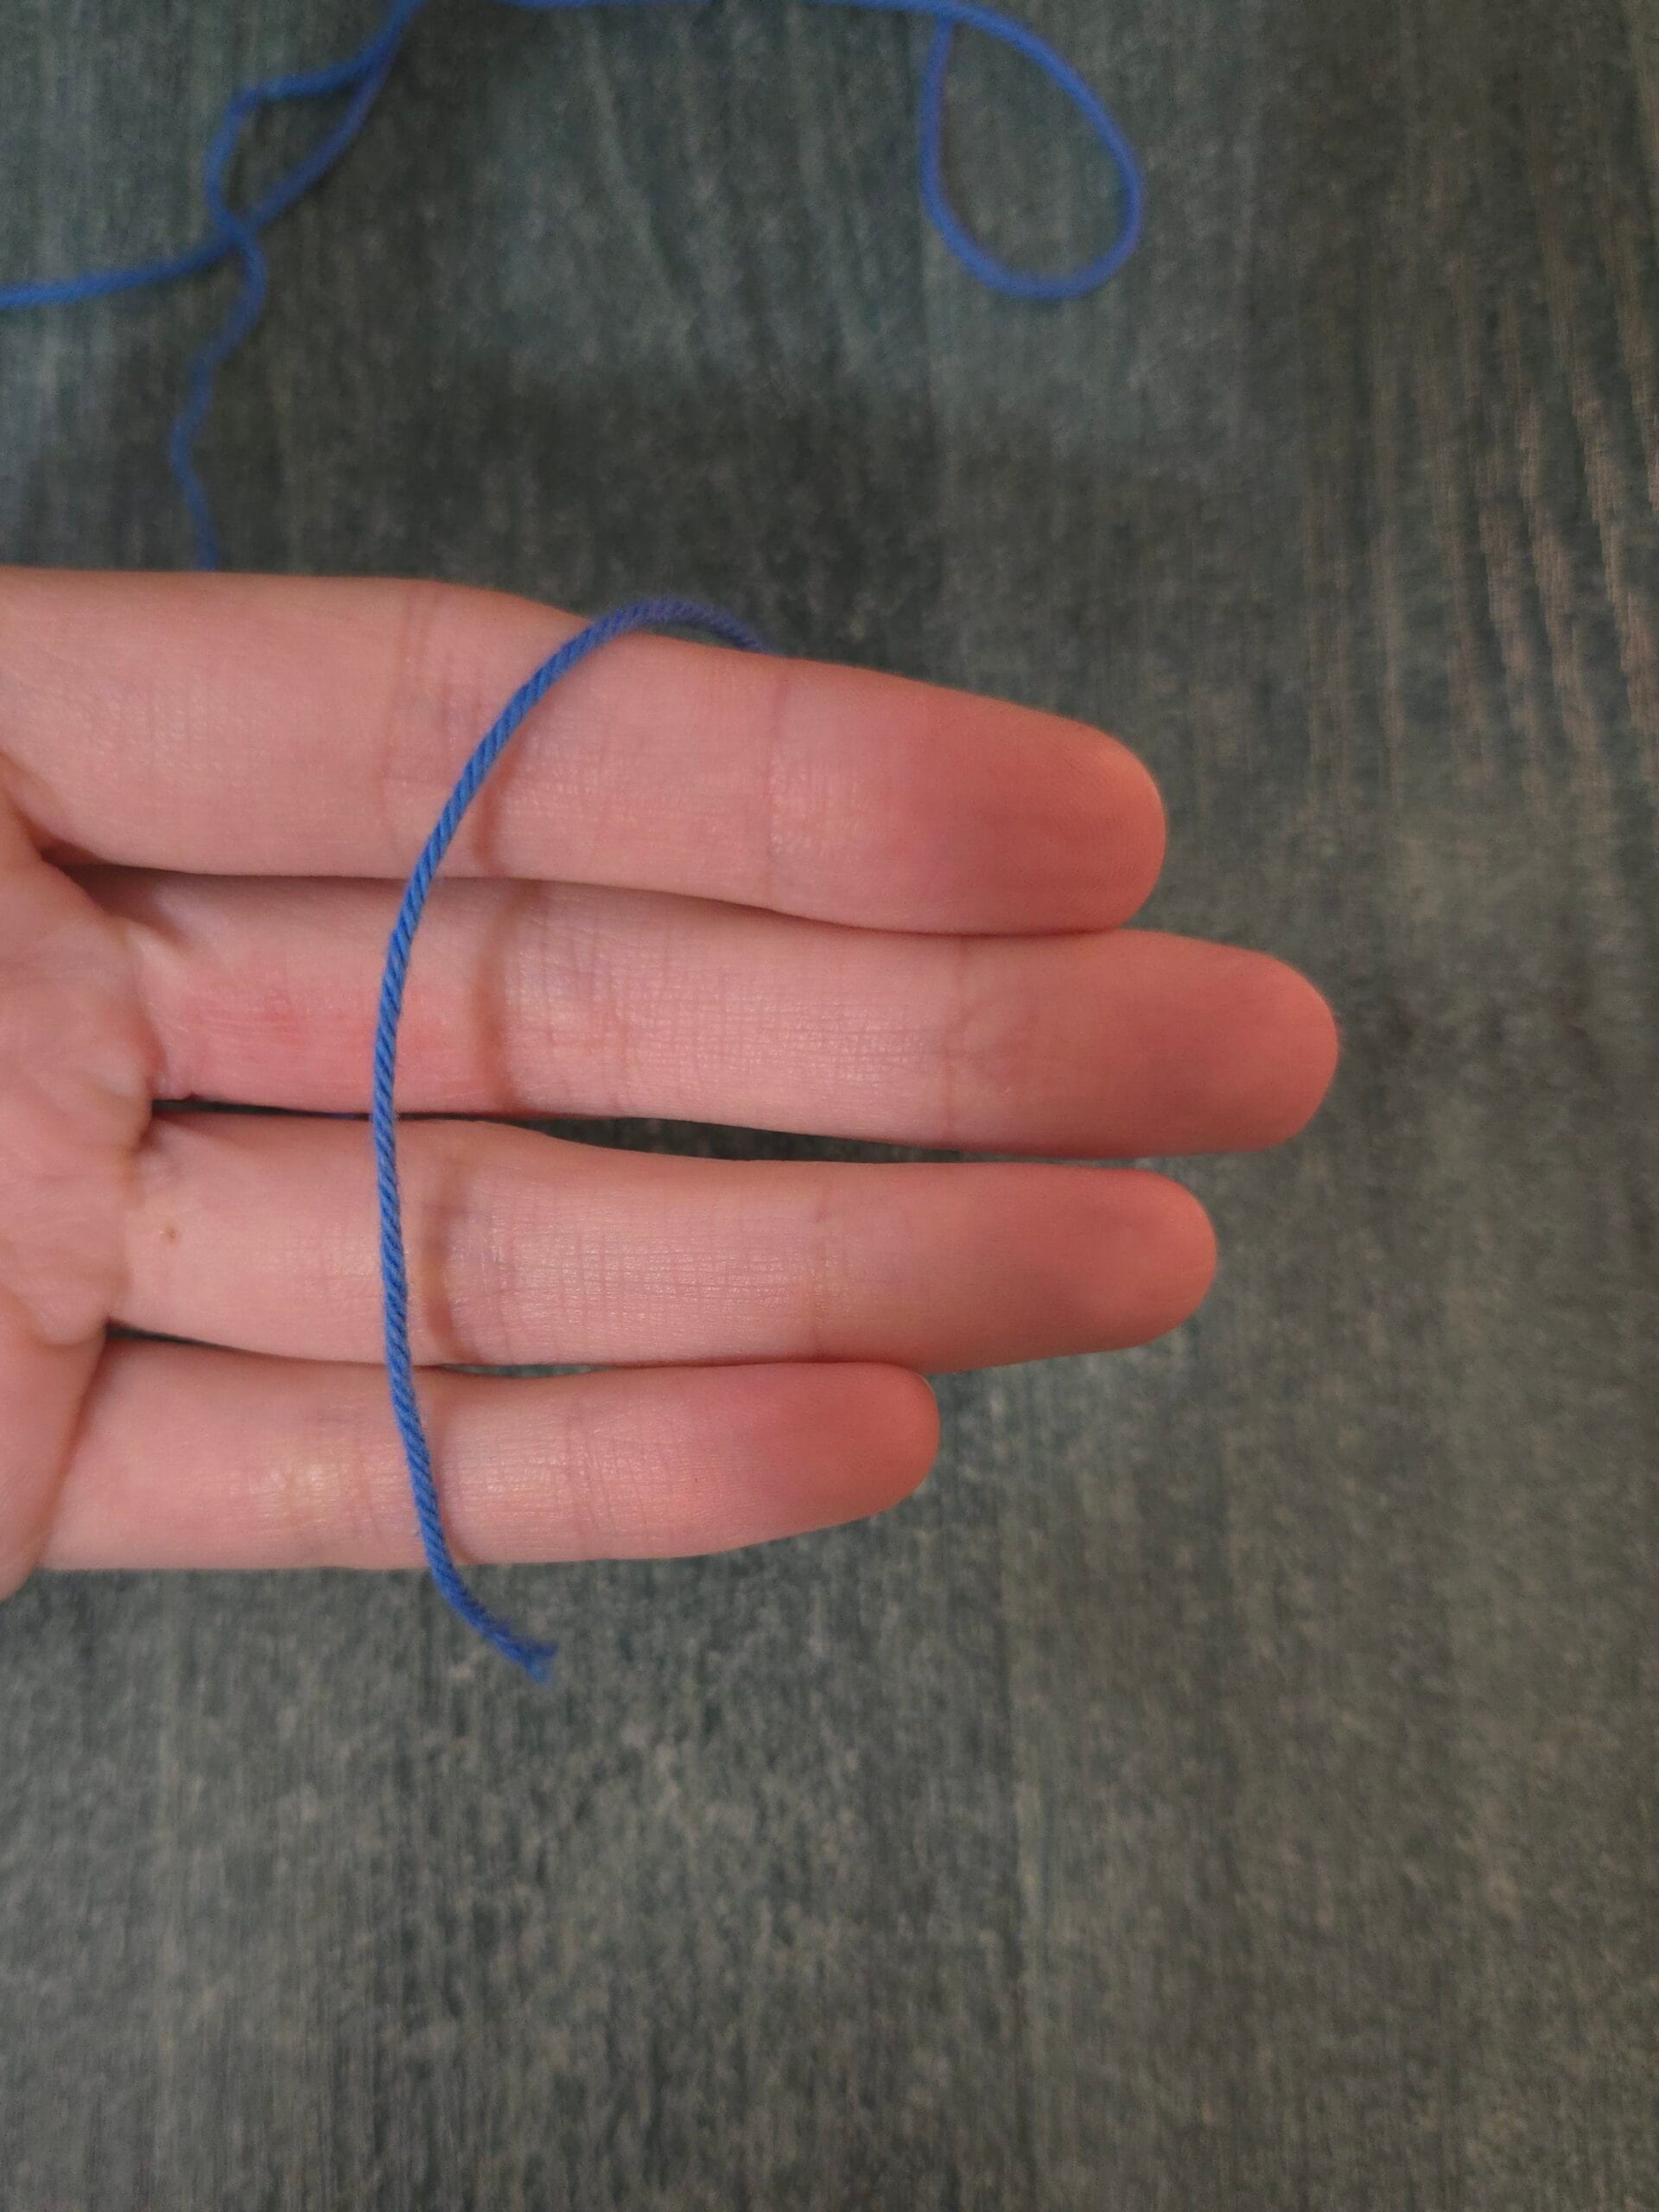
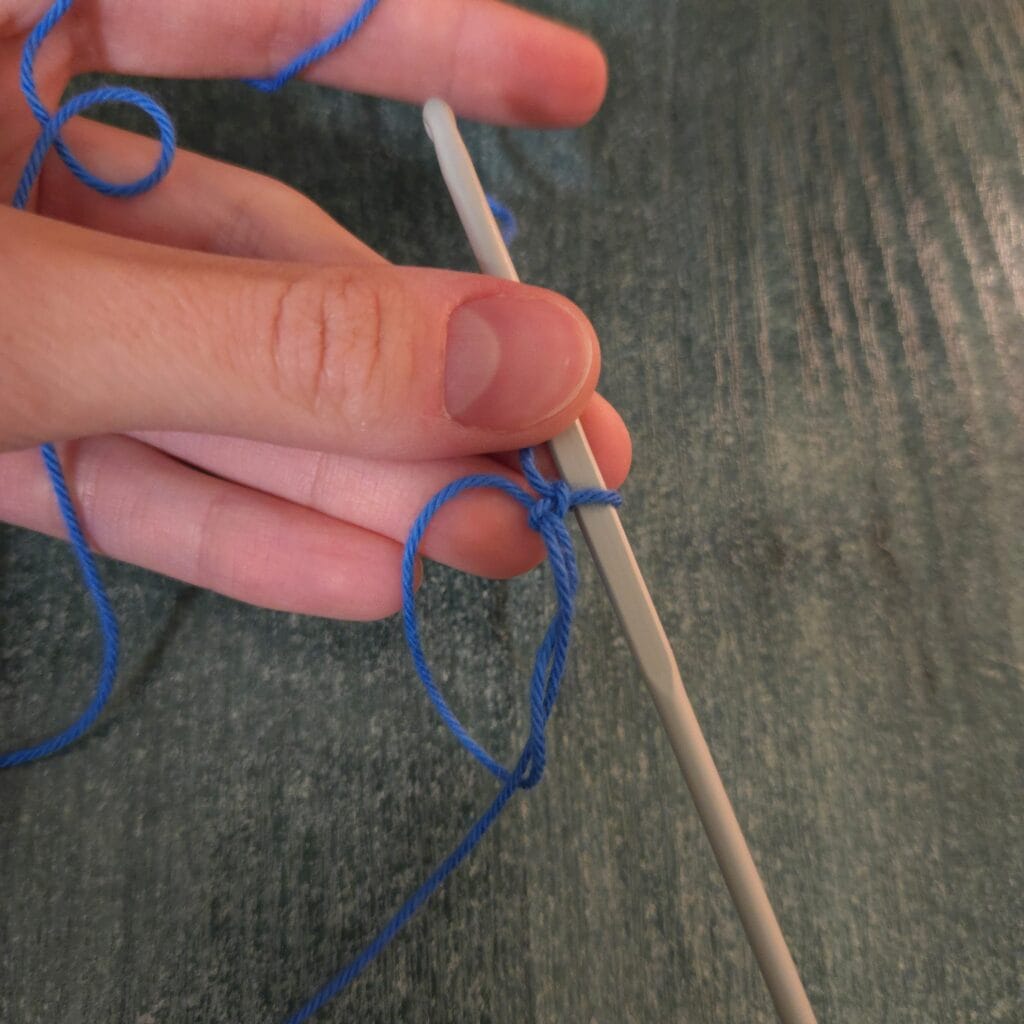
1. Place the yarn on your hand – Make sure the yarn tail is in front of your hand.

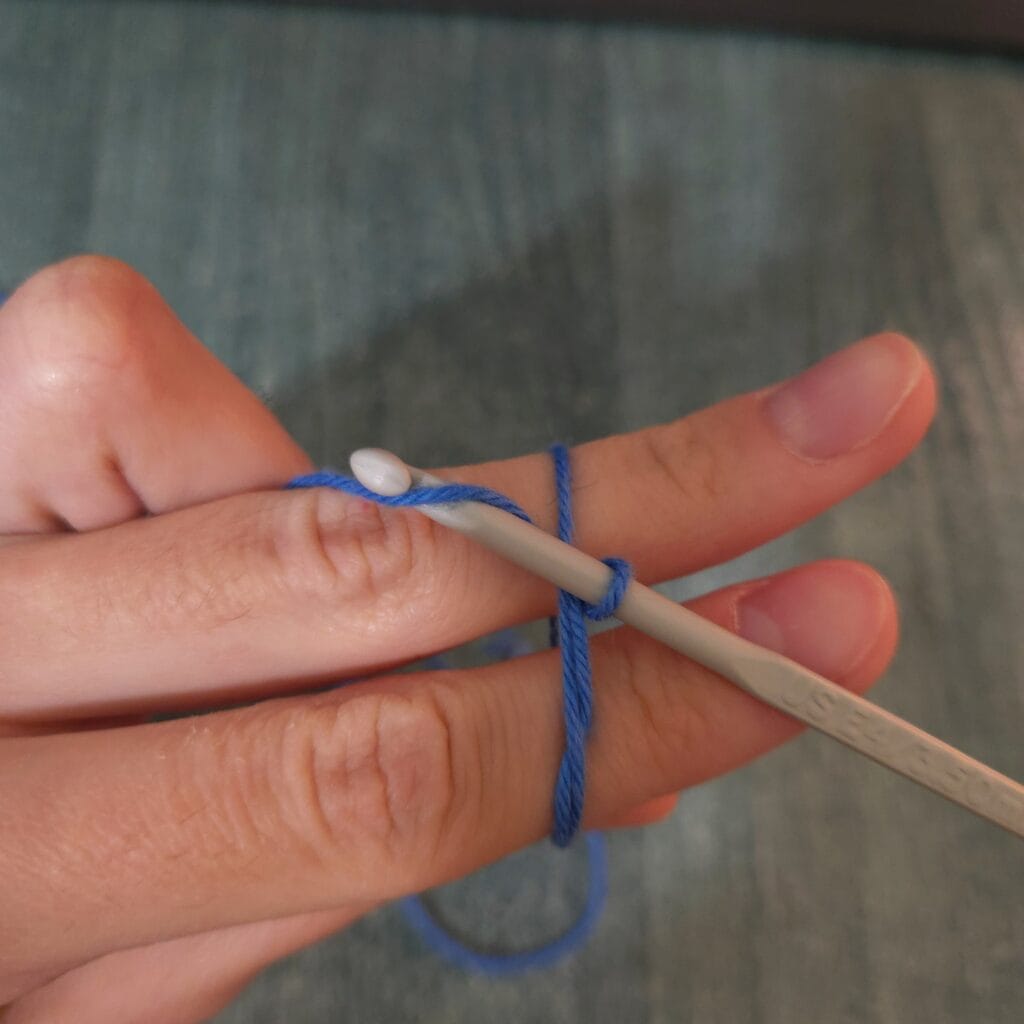
2. Make the loop – Wrap the yarn around two fingers to form a circle, with the working yarn (the part going to the ball) in front.

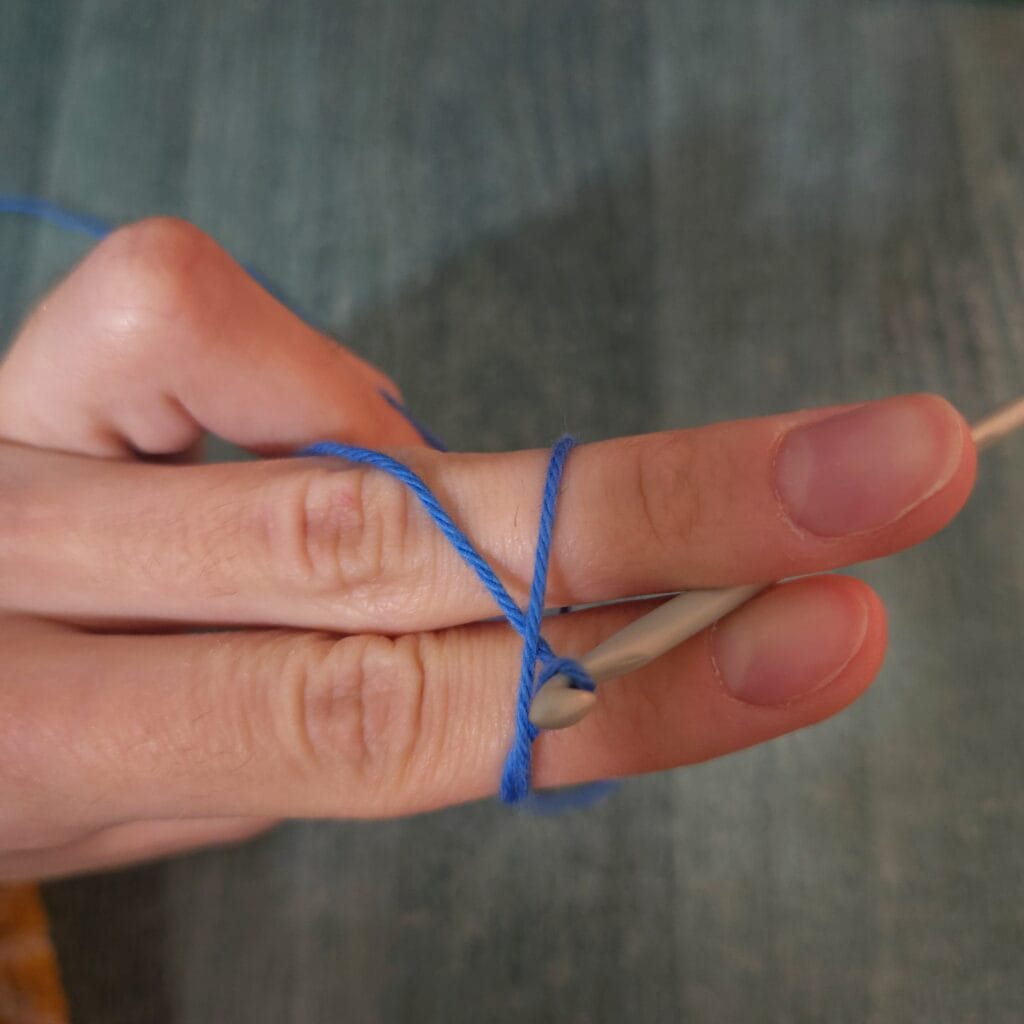
3. Insert the hook – Slide your hook under the loop.
4. Yarn over & pull through – Pull up a loop then chain one to secure it. (This chain doesn’t count as a stitch unless your pattern says so!)
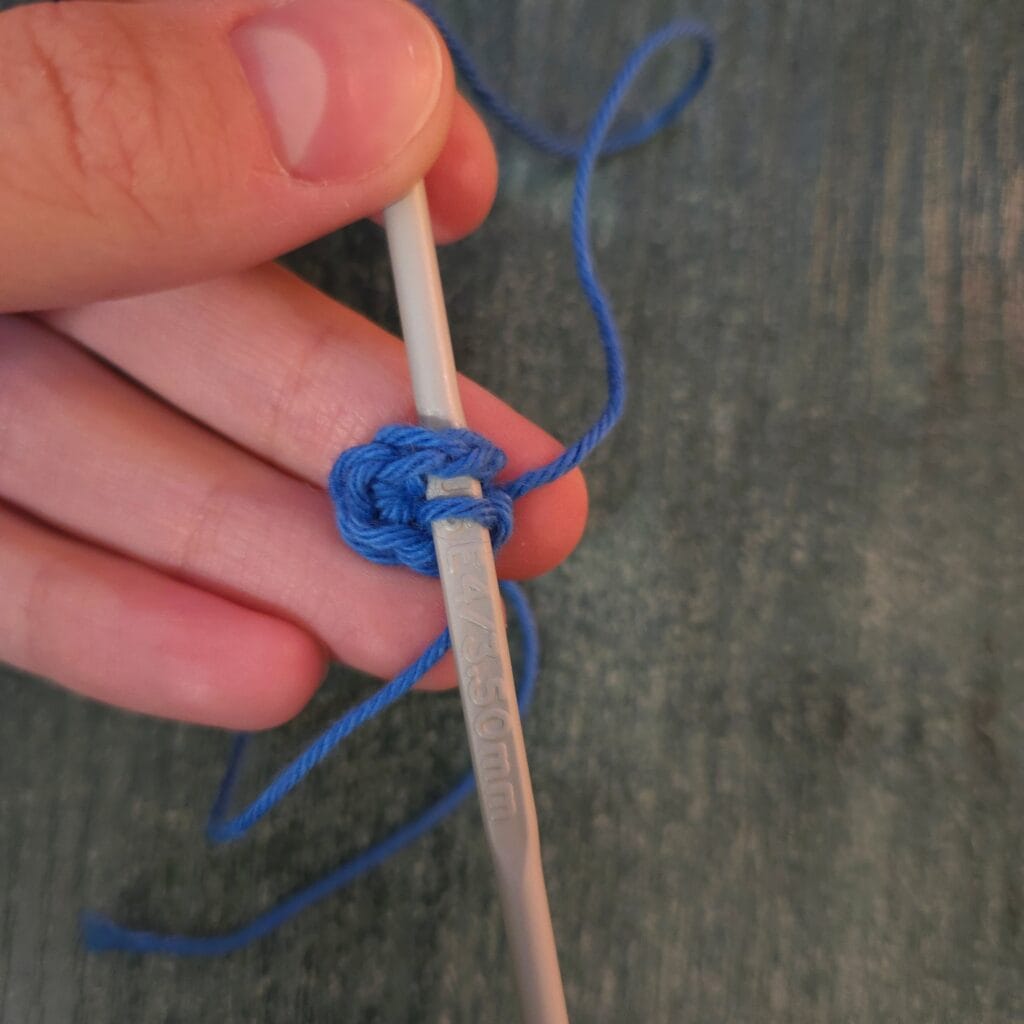
5. Work stitches into the ring – Start making the stitches your pattern calls for (single crochet, double crochet, etc.) directly into the loop.
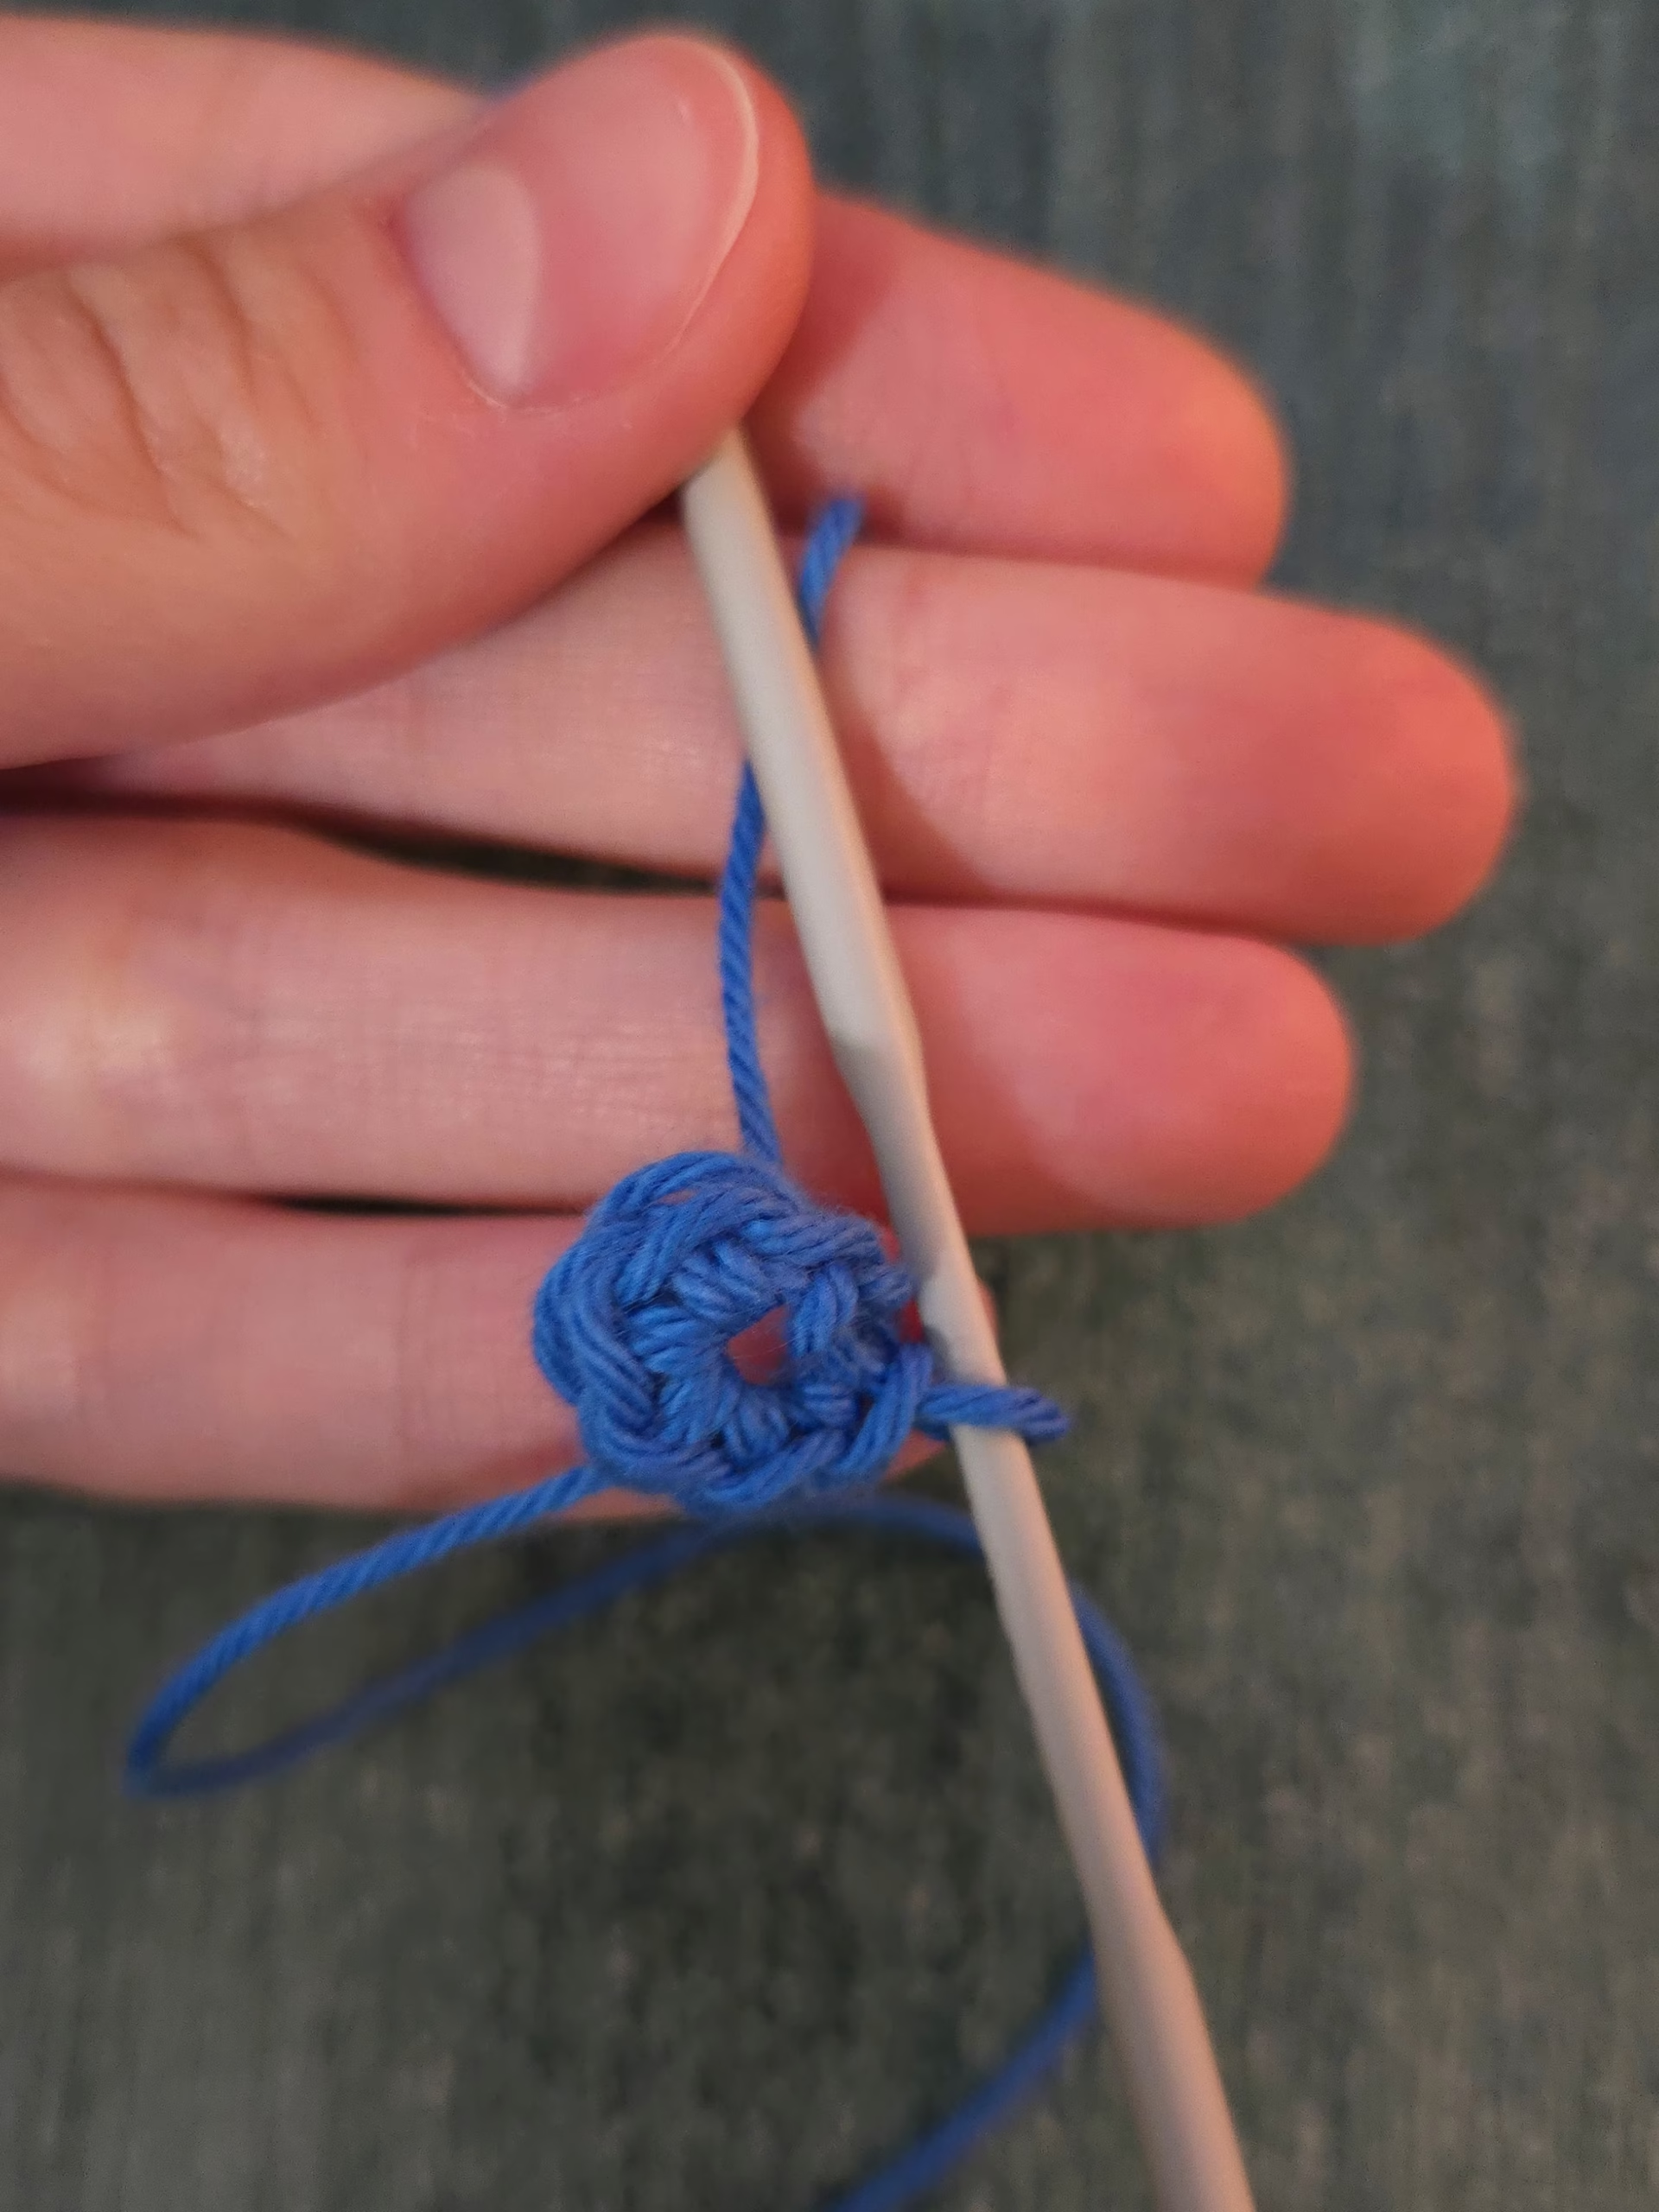
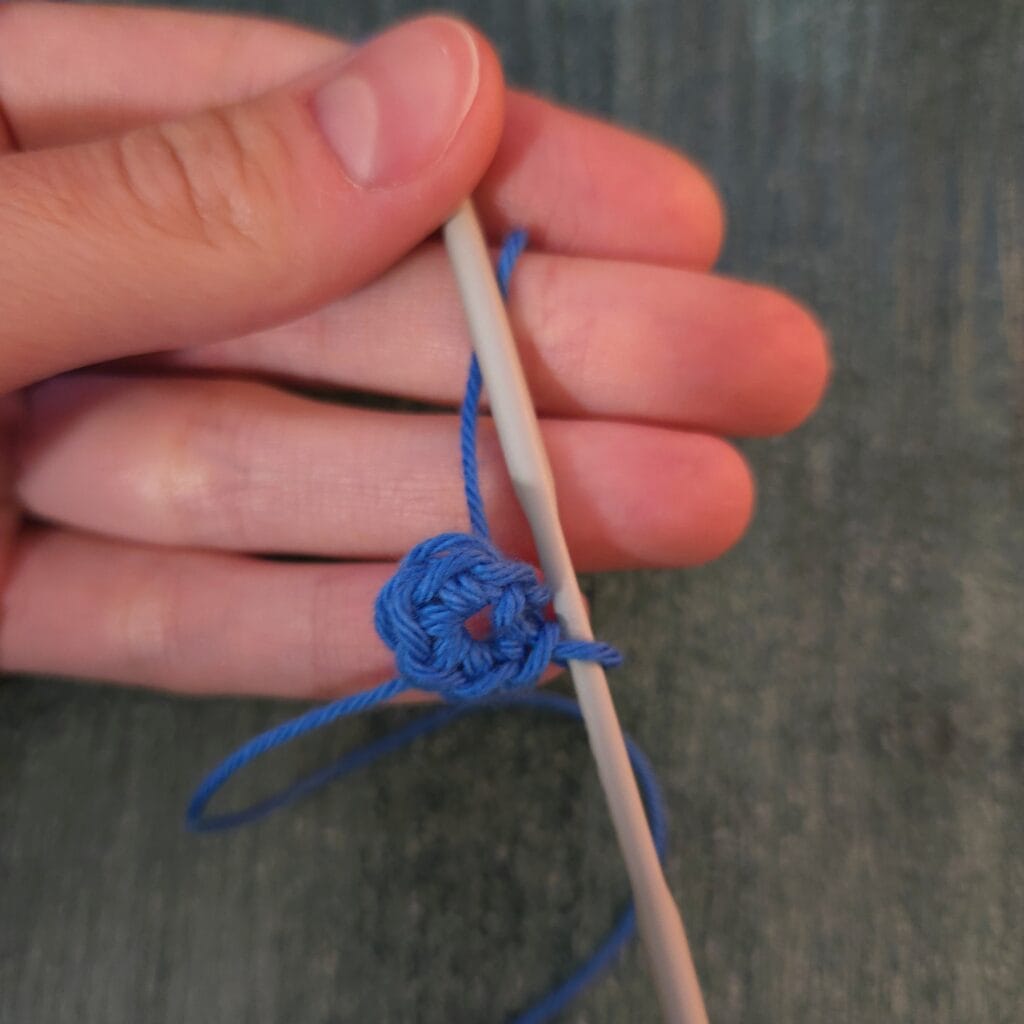
6. Finish the ring – When you make enough stitches, finish the magic ring by slip stitching into the last chain.
That’s it. With a bit of practice, it’ll feel like second nature.
Why Your Magic Ring Isn’t Working
- Loop slipping apart? Make sure your working yarn is crossing in front when you form the circle.
- Hole won’t close? Pull the tail firmly, but not so hard that you break the yarn.
- Too tight to work into? Try wrapping yarn a little looser around your fingers.
- Losing track of stitches? Pop a stitch marker in your first stitch to mark the round.
Don’t worry if it feels fiddly at first – most beginners need a few tries before it clicks.
Practice Tip
Grab some scrap yarn and make a few magic rings without following a full pattern. Just work a handful of single crochets into the loop, pull it shut, and start over. After a few rounds of practice, it’ll feel totally natural.
Final Thoughts
The magic ring is one of those small tricks that makes crochet so much easier and your projects look way more polished. Whether you’re making amigurumi animals, granny squares, or even a hat, learning this technique will save you from those annoying gaps in the middle.
So next time you see “MR” in a pattern – don’t panic! You’ve got this.
3 thoughts on “How To Make Crochet Magic Ring | Step-By-Step Tutorial”