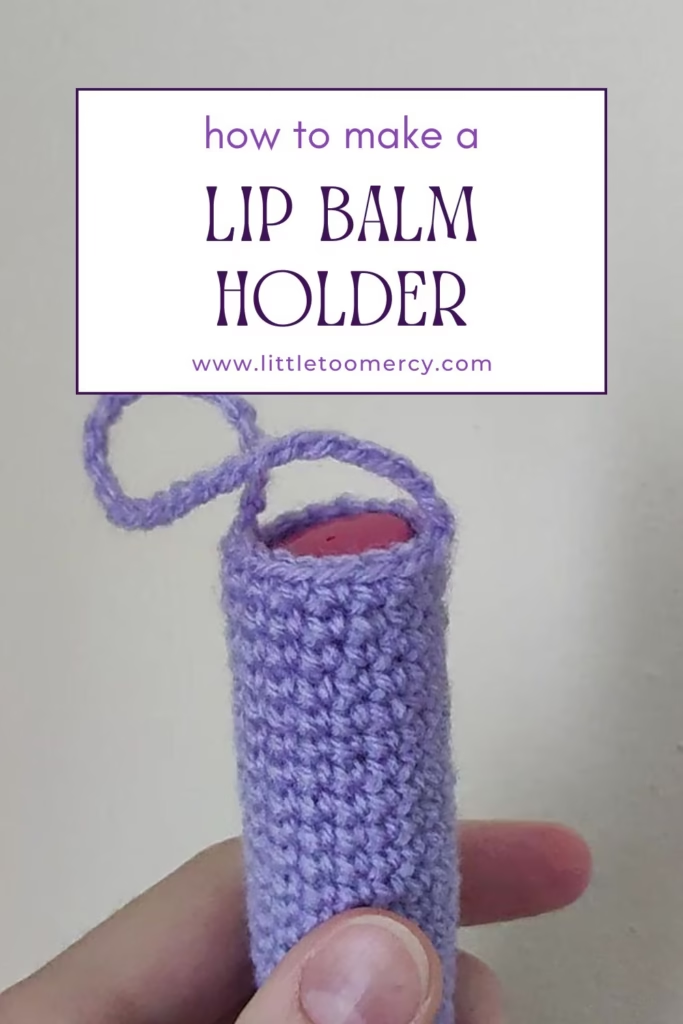
A lip balm holder is a quick, useful, and satisfying project that every crocheter should try. This free crochet lip balm holder pattern is perfect for beginners who want to practice simple stitches, while still being quick and enjoyable for more experienced makers. You can use these holders as keychains, purse charms, or even clip them onto a backpack. Since this crochet lip balm holder tutorial only uses basic stitches, it works up fast and makes an ideal beginner-friendly project that you’ll love making again and again.
Table of Contents
- Why Crochet Lip Balm Holders Are So Great
- Beginner's Crochet Lip Balm Holder Pattern Information
- Crochet Abbreviations You'll Need
- Crochet Lip Balm Holder Pattern
- Crochet Lip Balm Holder Tips for a Perfect Project
- What Else to Make With Your Crochet Lip Balm Holder?
- Don't forget to save this free pattern!
- Final Thoughts
Why Crochet Lip Balm Holders Are So Great
A lip balm holder is the ultimate blend of function and creativity. It’s more than just a quick project – it’s a little solution to a common problem, and it’s perfect for every skill level. Here’s why this pattern is a must-make:
- Solve a Problem: No more rummaging through your bag or frantically searching for that tiny tube! This holder keeps your lip balm securely attached to your keys, purse, or backpack, so it’s always right where you need it.
- Practice a New Skill: This project is a fantastic way to master working in joined rounds and making a straight tube – skills that are essential for making perfect, three-dimensional objects.
- The Perfect Stash-Buster: You only need a small amount of yarn to create one. This is the ideal opportunity to use up those leftover scraps from a bigger project and feel good about reducing your stash.
- Personalize Your Accessories: These holders are a great way to add a pop of color and handmade charm to your everyday items. They are highly customizable, making each one unique to you or to the person you are making it for.
Beginner’s Crochet Lip Balm Holder Pattern Information
This pattern is written using US crochet terms.
This post may contain affiliate links, which means I may receive a small commission if you purchase something. This is at no extra cost to you and helps me to continue providing free patterns and tutorials!
Materials
- Yarn: I used an old lace weight acrylic yarn. Any Sport or DK weight yarn will work for this project. I don’t recom,end bigger yarns. It’s best if you use any leftover yarn you have. For quick recommendations, you could try Hobbii Cotton 8/4 with a 3 mm hook.
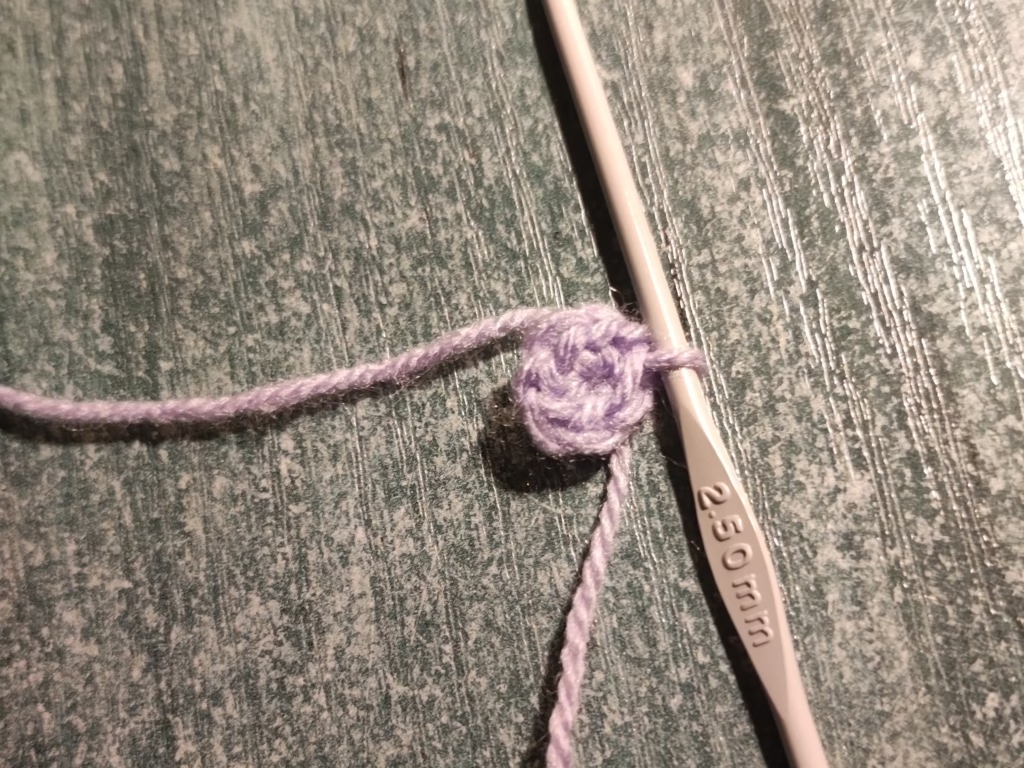
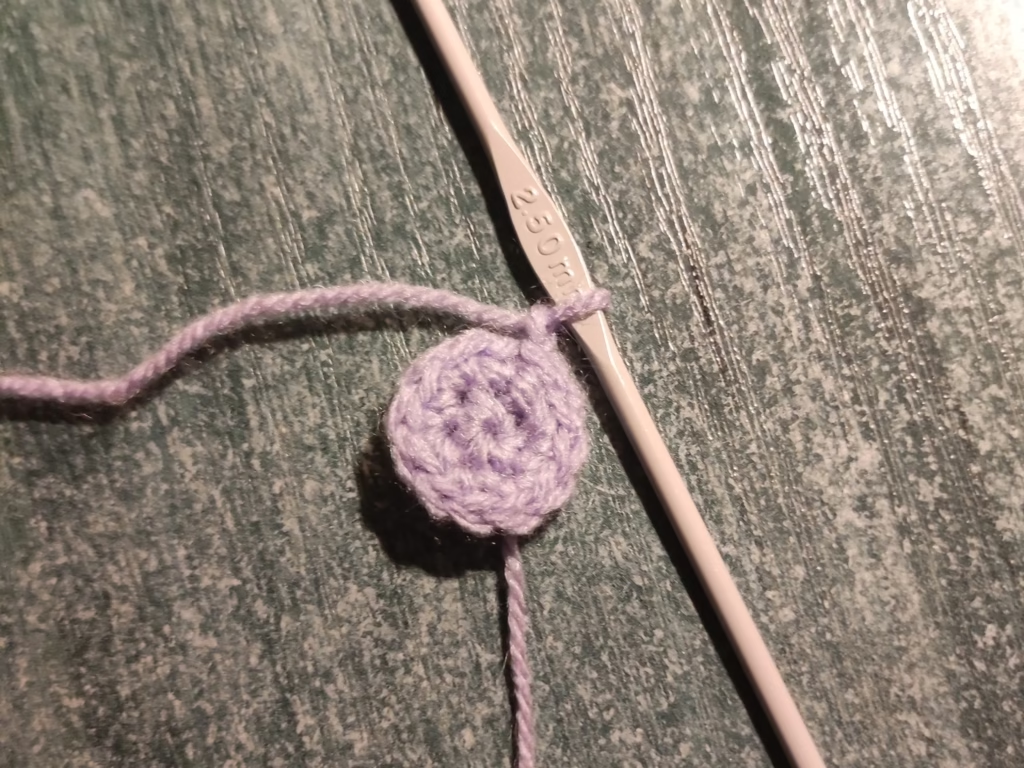
- Crochet Hook: Choose a hook size suitable for your yarn. I used a 2.5 mm crochet hook, which created a nice, dense fabric. For lace or sport weight yarn, a 2.5 mm or 3 mm hook will work well.
- Scissors: A small, sharp pair of scissors is a must for cutting your yarn.
- Yarn Needle: This is a crucial tool for weaving in your ends at the end of the project to keep your work neat.
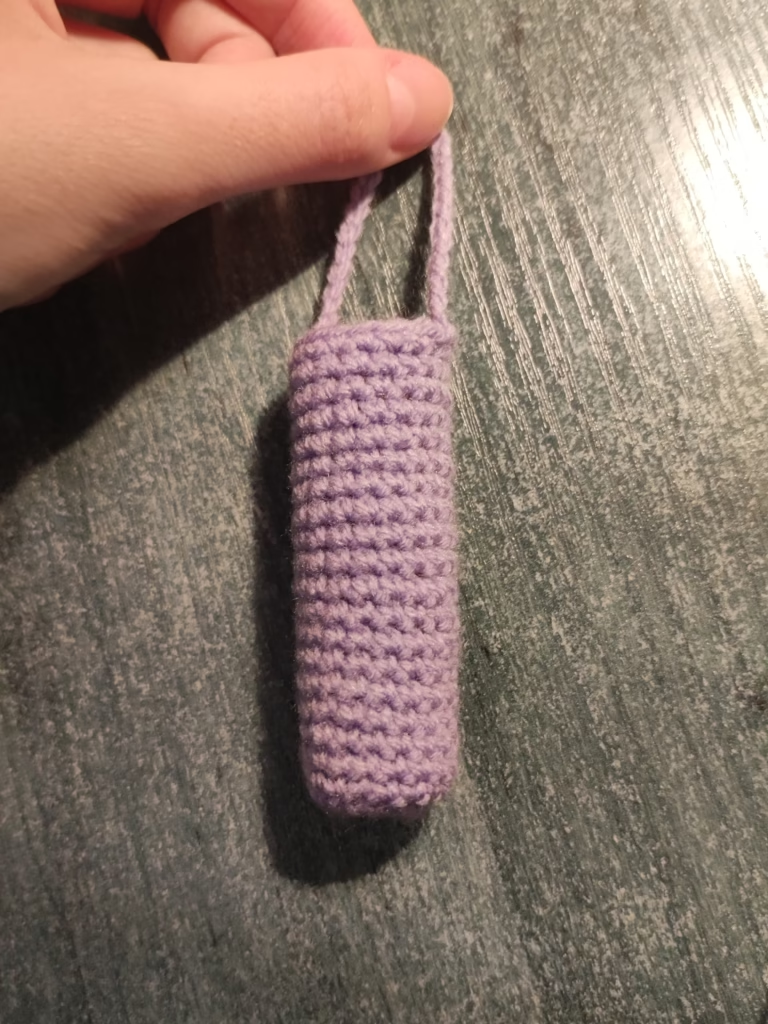
Finished Size
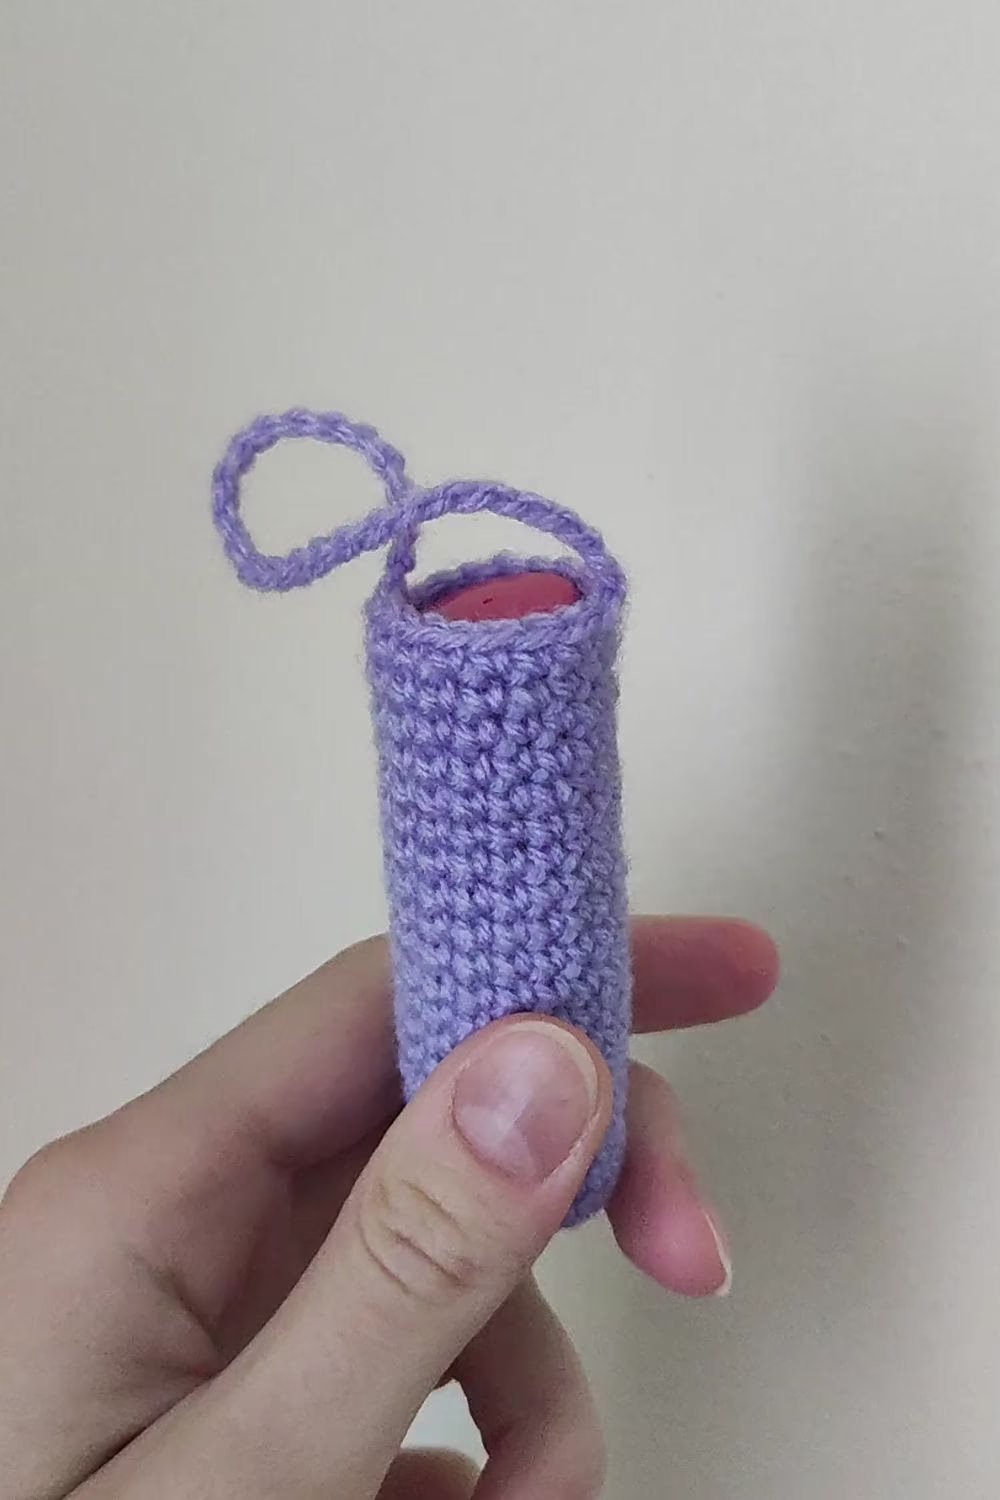
Depends on your yarn and hook. My holder is around 4 inches (7.5cm) tall and 1.75 inches (2 cm) wide with a base of 1.75 inches (2 cm) radius.
You can easily make the tube longer by working more rounds. The base can also be made bigger.
Gauge
Not essential for this project. It is made to measure. Just work it up and try it on a lip balm.
Understanding The Pattern’s Construction
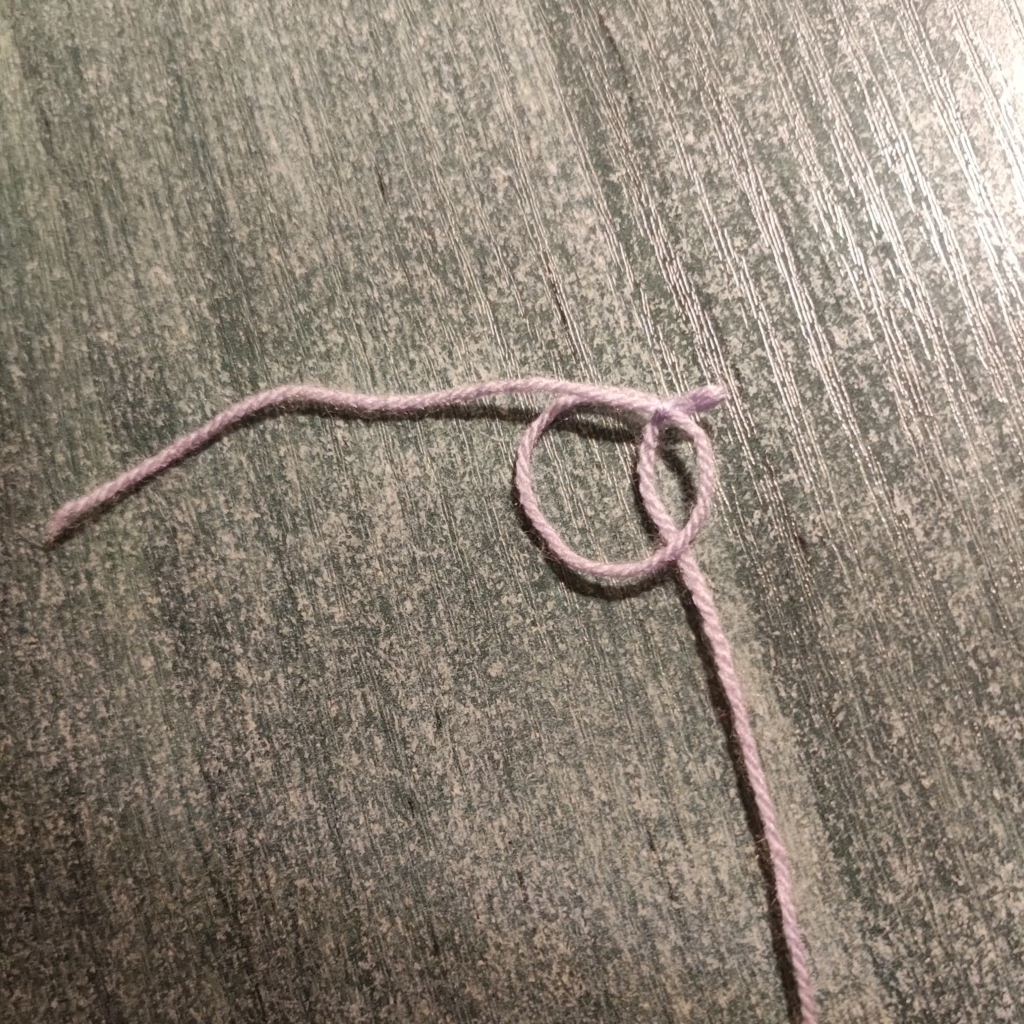
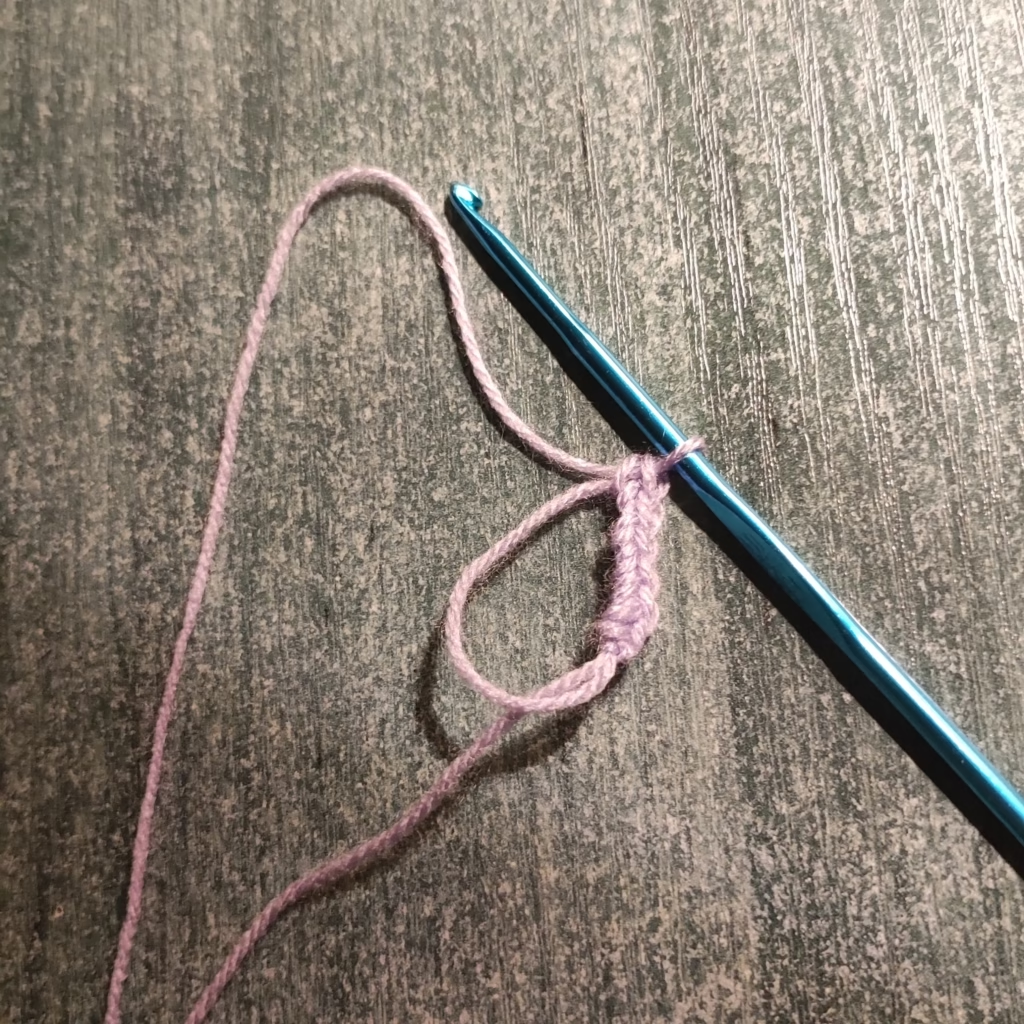
The pattern is made in rounds, starting with a magic ring. If you need help with this step, check out my tutorial on how to master the magic ring.
The pattern begins by working a flat circle in joined rounds to create the base of the holder. It should be slightly bigger than the base of the lip balm itself.
After the base is complete, you will stop making increases and start working upwards to form the body of the holder. This is done by working in joined rounds, which creates a perfectly straight, seamless tube.
Knowing this is particularly helpful for choosing gradient yarn, as the color changes will create a beautiful effect on the body. You can also create your own beautiful color combinations by working each round with a different color.
Crochet Abbreviations You’ll Need
This pattern uses common US crochet terms. If you’re new to crochet, this can feel like a new language! Use this quick guide to check if you’re familiar with the stitches. If you need a refresher on any of them, just click the link for a detailed tutorial.
- mr – magic ring
- ch – chain
- sc – single crochet
- inc – increase
- rep – repeat
- sl st – slip stitch
Crochet Lip Balm Holder Pattern
This pattern is worked in joined rounds to create a perfectly straight tube.
Step-by-Step Instructions for Beginners
Base
The base is a flat circle that should be slightly bigger than the bottom of your lip balm.
- Round 1: Start with a magic ring. Work 6 single crochets into the ring. Join with a slip stitch into the first single crochet. (Total: 6 stitches)
- Round 2: Chain 1. Make 1 single crochet in the same stitch. Make an increase in each of the next 5 stitches. Join with a slip stitch. (Total: 12 stitches)
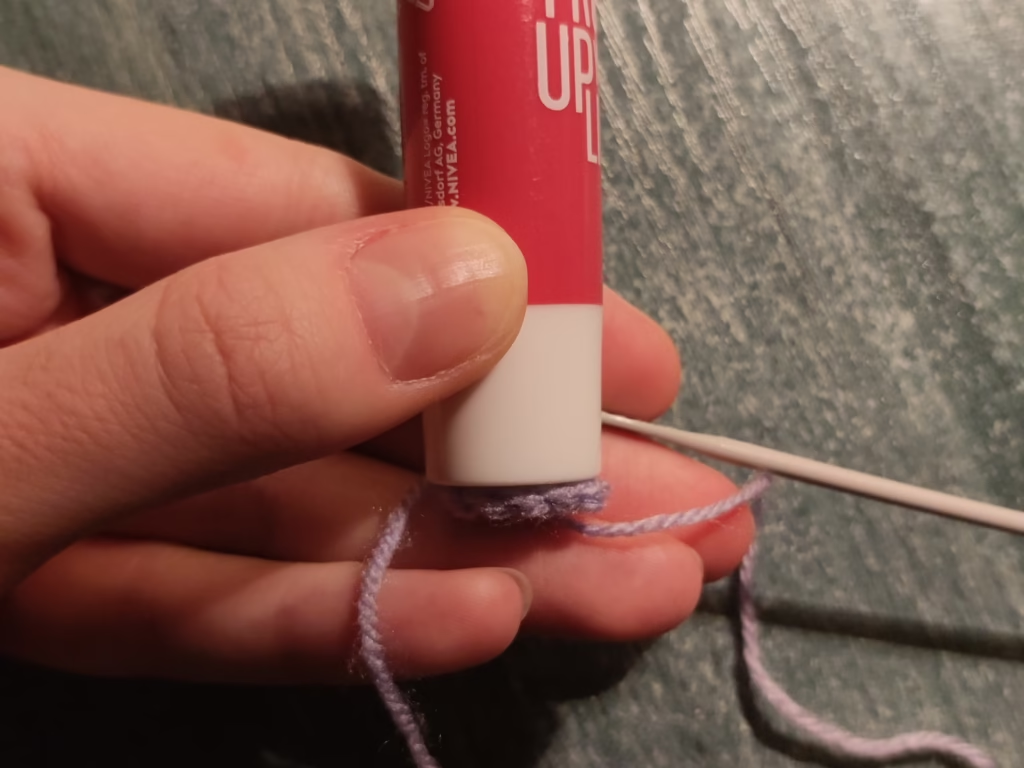
- Check Your Fit: Place the bottom of your lip balm on the circle. If it’s big enough, you can skip to the Body section.
- Round 3: Chain 1. Repeat the sequence (1 single crochet, 1 increase) until you reach the end of the round. Join with a slip stitch. (Total: 18 stitches)
If your circle is still not the right size after Round 3, you just need to add more rounds. Simply follow a standard flat circle pattern and then come back to this page once your circle is complete.
Weave in the ends of the the lip balm holder base – it is easier to do it know while it’s flat. If you prefer to do it later, that’s also okay.
Now will be the repeatable part of the pattern, when you want to make the same round multiple times, until you reach the desired height of the holder.
Body
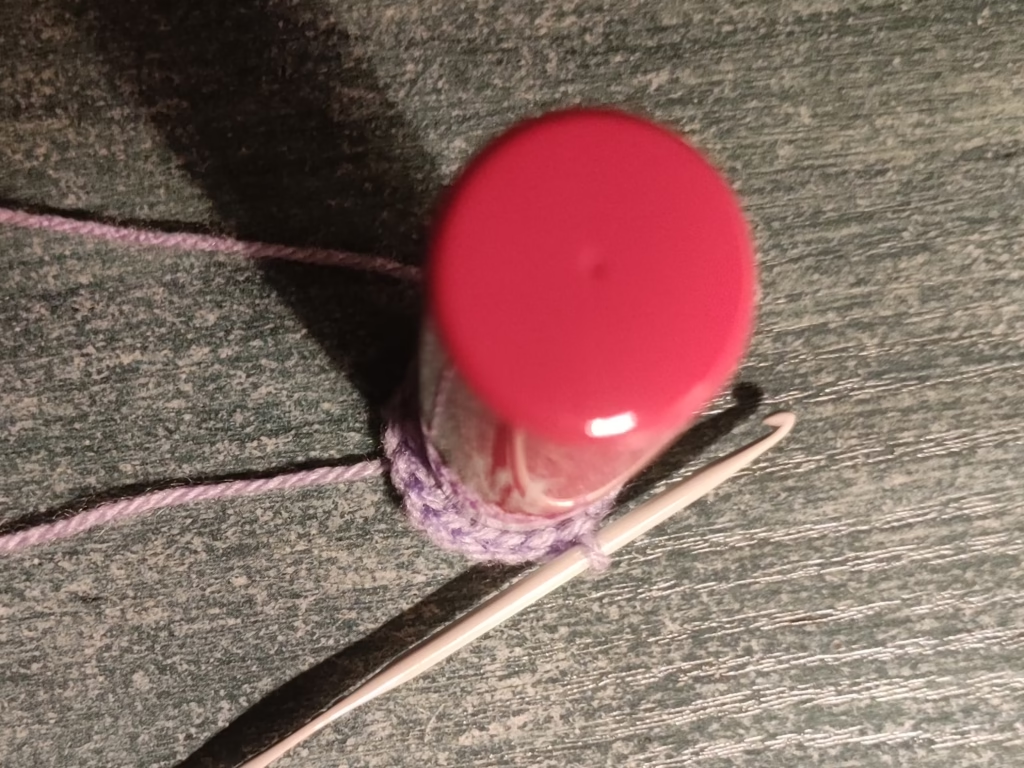
- Round 4+ (R4+): Chain 1. Make 1 single crochet in the very first stitch of the round. Continue to make 1 single crochet in every stitch around. Join the round with a slip stitch into the top of your very first single crochet.

- Continue repeating this round until your holder is tall enough to cover your lip balm. The number of stitches will remain the same for each round.
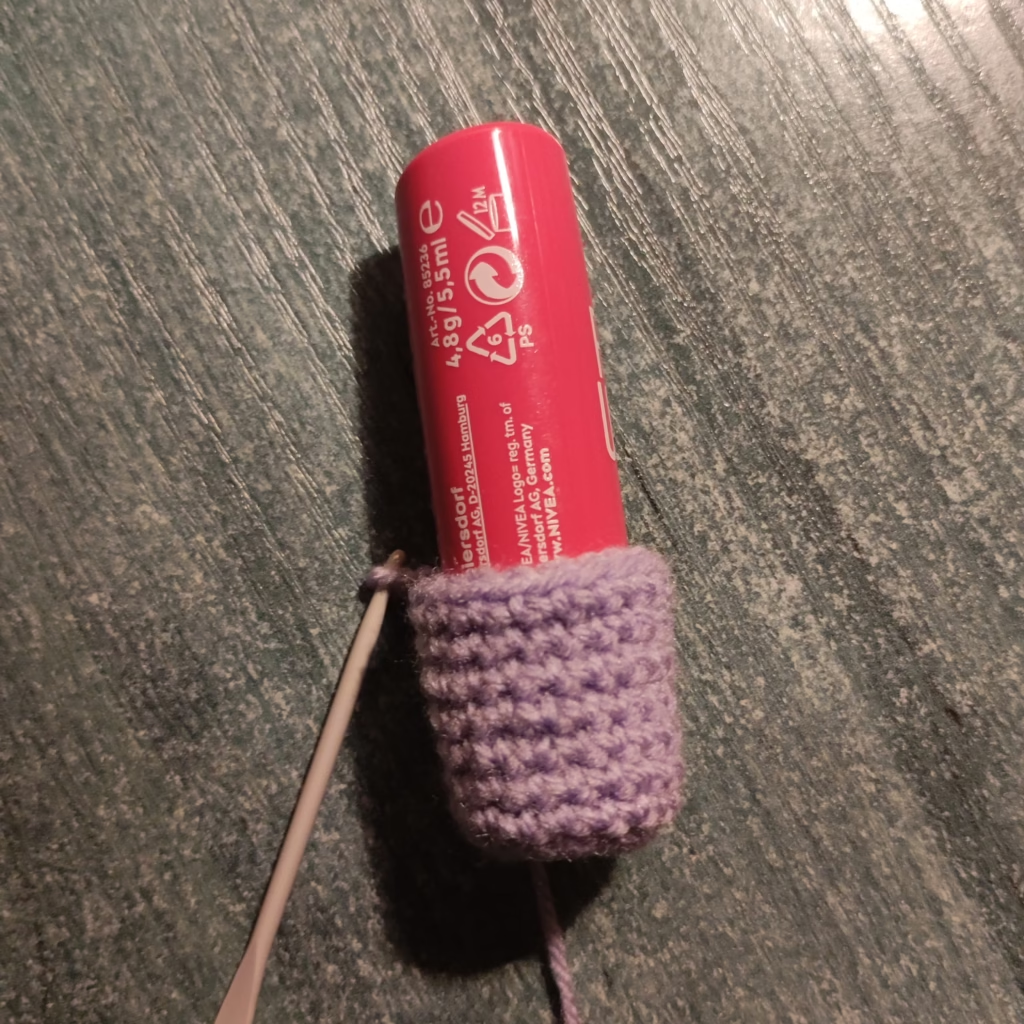
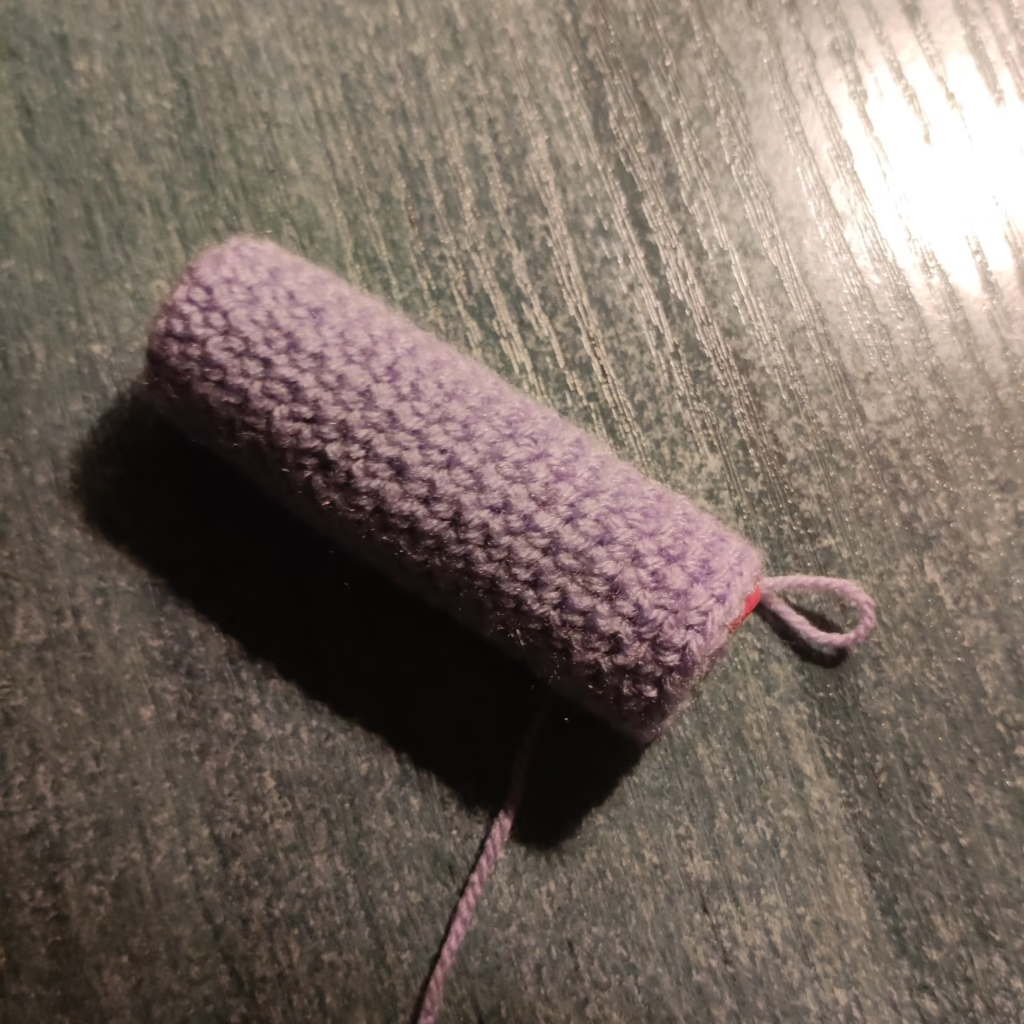
Once you reach the height you want, you can also create a strap.
Strap
- Do not fasten off yet.
- Chain 15 (or more for a longer strap).
- Slip stitch (sl st) into the single crochet on the opposite side of the holder to form the strap.

Finishing Touches
- Cut your yarn, leaving a long tail.
- Weave in all your ends.
Shortened Pattern For Experienced Crocheters
For those who prefer a quicker read, here is the full pattern in standard format:
Base
- R1: 6sc in mr, sl st to join (6)
- R2: ch 1, sc in same st, inc in each of next 5 sts, sl st to join (12)
- R3: ch 1, (sc, inc) rep 6x, sl st to join (18)
You can make the base bigger by continuing with a standard flat circle pattern.
Body
- R5+: Ch 1, sc in each st around, join with a sl st.
- Repeat until you have the desired height.
Once you reach it, you can also create a strap.
Strap
- Ch 15 (or more), sl st to the opposite side.
- Fasten off and weave in ends.
Crochet Lip Balm Holder Tips for a Perfect Project
Don’t worry if your first holder isn’t perfect! A few simple tips can help you achieve a polished finish every time.
- Watch Your Gauge: While this project doesn’t require a specific gauge, the tightness of your stitches is key. If your stitches are too loose, your lip balm tube may slip right out! Aim for a consistent, firm tension to ensure a snug fit.
- Create Clean Seams: When joining your rounds, a consistent slip stitch can help you avoid a wobbly line. For the best look, you can also use an invisible join at the end of each round.
- Choose the Right Yarn: The yarn you choose affects the final feel and look of your holder. A smooth cotton yarn will give you crisp stitch definition, while a soft acrylic will result in a squishier, cozier feel.
What Else to Make With Your Crochet Lip Balm Holder?
If you enjoyed making this holder, you’ve mastered the core skills needed for a variety of other projects! Your next step could be a matching keychain coin purse or a small drawstring pouch. These projects use the same fundamental techniques of working in the round and are the perfect way to expand your skills.
Don’t forget to save this free pattern!
I hope you enjoyed this quick and useful project. If you loved this pattern, be sure to pin it to your crochet board so you can easily find it again the next time you need a fun, fast project.
Or save it on Ravelry!
Final Thoughts
Crochet lip balm holders are not just cute – they’re incredibly useful and make an excellent last-minute gift. Once you get the hang of this simple pattern, you’ll be able to whip up a whole collection in no time.
I’d love to know – who will you make your first lip balm holder for? Share your ideas in the comments below!