I am so excited to share this with you! My talented cousin purpleVal just designed the perfect sweater for us all: a stylish, beginner-friendly granny square sweater. It’s a modern take on a classic motif, and the best part is that it’s made from just two giant granny squares, which makes the entire project fast and fun. Perfect for binging some TV shows!
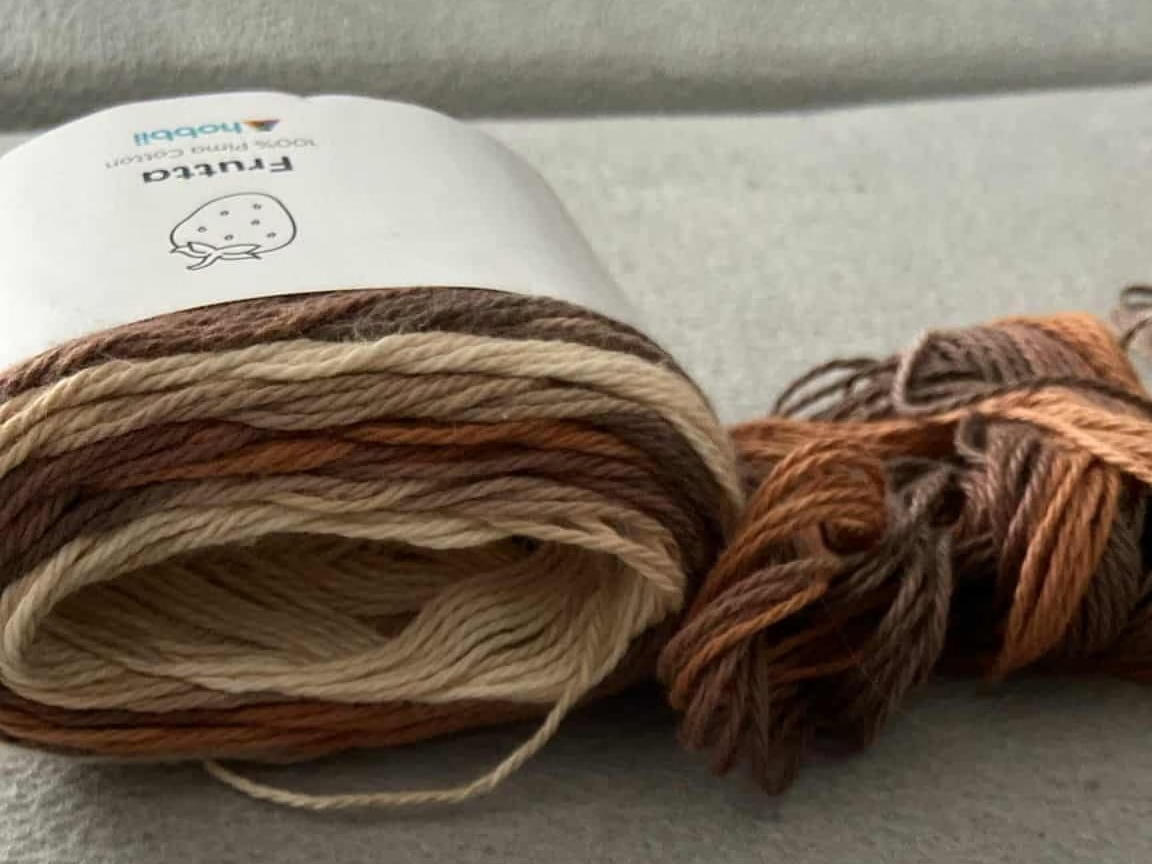
She decided to use Hobbii’s beautiful Frutta yarn, and the results speak for themselves. The yarn’s gorgeous, self-striping colors make it look like a high-fashion, boutique piece, even though it’s incredibly simple to make. Thanks to the changing colors and a simple repeating pattern, the result is spectacular and unique.
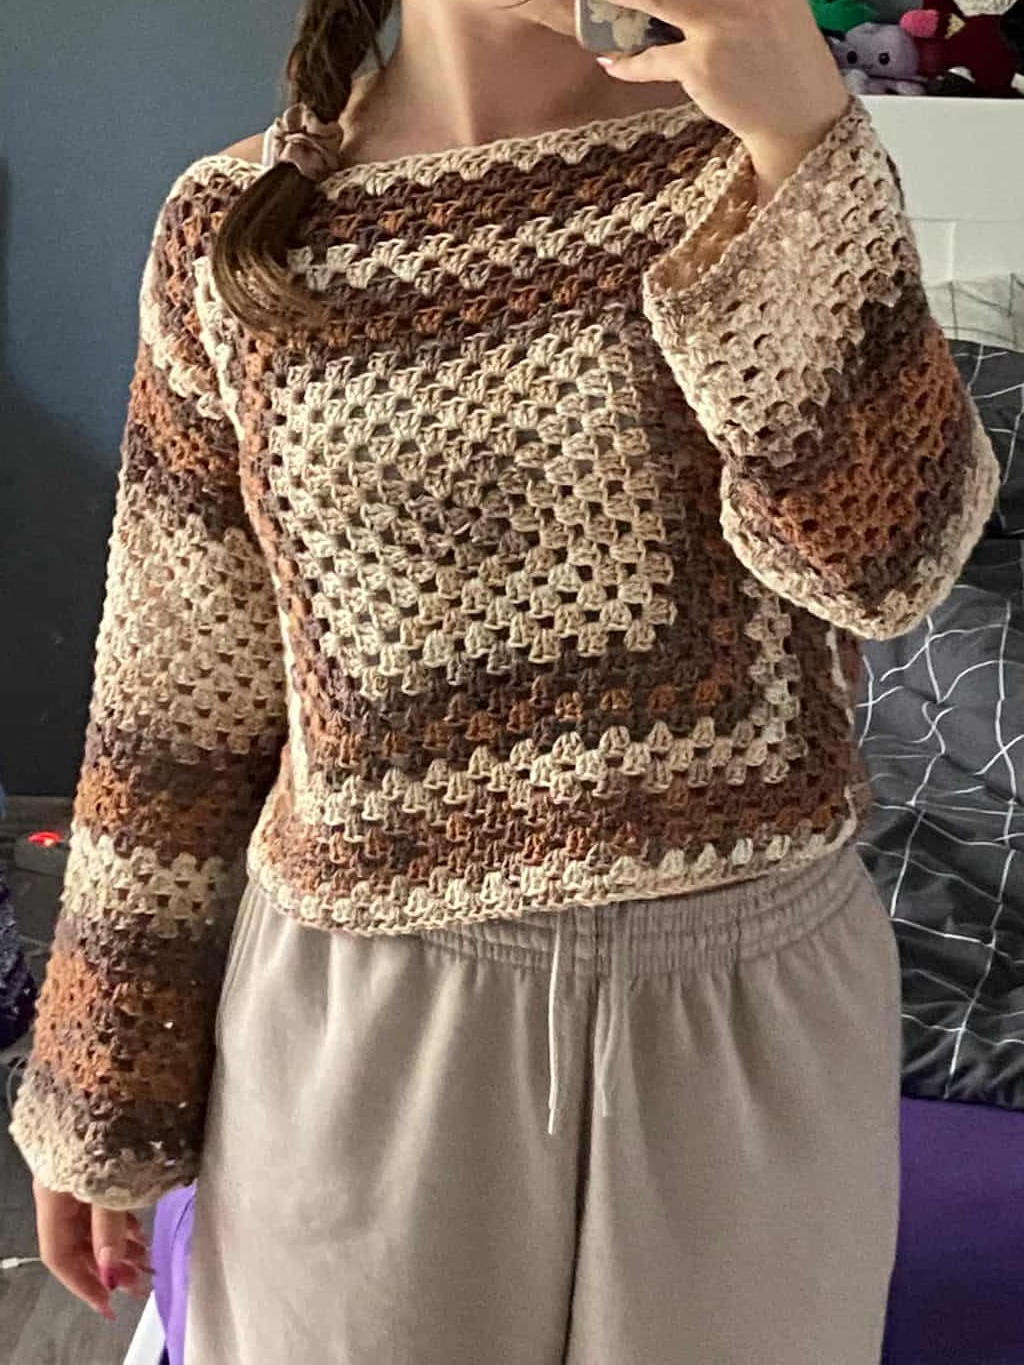
Table Of Contents
The Inspiration: A Granny Square Revival
We wanted to create a sweater that was both cozy and modern. The classic granny square is seeing a huge revival in fashion, and we realized that by simply expanding it, you could create a beautiful, oversized garment without the hassle of a lot of pieces. The two-square design means less seaming and less counting – just pure, enjoyable crochet.
My cousin chose Hobbii’s Frutta yarn for its incredible softness and its beautiful, long color changes. The yarn does all the work for you, creating stunning color blocks without the need to switch skeins. The result is a unique, one-of-a-kind sweater that looks much more complicated than it actually is. And self-changing yarn doesn’t require any sewing or weaving the ends!
Why This Pattern Is a Crocheter’s Dream
- Quick to Work Up: Because you’re making only two pieces, you’ll be finished in no time.
- Easy to Size: You can easily make this sweater for any size by simply adding or subtracting rounds from your granny squares.
- Minimal Seaming: Unlike most garments, this pattern requires very little sewing.
- Modern & Versatile: This sweater is perfect for throwing over a T-shirt and jeans for a cozy, stylish look.
The Two Granny Square Sweater Pattern Information
This pattern is written using US crochet terms and is very beginner friendly.
This post may contain affiliate links, which means I may receive a small commission if you purchase something. This is at no extra cost to you and helps me to continue providing free patterns and tutorials!
Materials
This pattern is a fantastic stash-buster and is perfect for beginners who want to try their first garment.
- Yarn: I reccomend Hobbii Frutta or any worsted/DK weight yarn for similar effect but a smaller or bulkier yarn will work fine. Just make sure to use the right hook for your yarn.
- Crochet Hook: 4mm for Hobbii Fruta or worsted/DK weight or any other suitable for your yarn.
- Scissors: A small, sharp pair of scissors is a must for cutting your yarn. I love these sharp embroidery scissors for precision.
- Yarn Needle: This is a crucial tool for weaving in your ends at the end of the project to keep your work neat. I use these bent-tip tapestry needles.
- Sizing: Made to measure. The photos showcase a size S, but sizing can be easily modified by adjusting the number of rounds for your squares. This will be clearly noted in the pattern below or in the PDF version.
Finished Size
This pattern is made to measure, which means it will 100% suit your body.
Gauge
Not essential for this project. Just be sure to maintain consistent tension when making both granny squares. If you want to calculate how many rows you should make
Understanding the Pattern’s Construction
This sweater comes together in a few simple steps. The full pattern and detailed instructions are provided below!
- Crochet Your Granny Squares: You will make two identical large granny squares.
- Seam the Squares: Once both squares are finished, you will seam them together to create the front and back of your sweater.
- Add Sleeves: You will then add sleeves by crocheting directly onto the armholes you created.
- Finishing Touches: Add ribbing or a border to the cuffs and hem for a polished finish. (only if you want!)
First time making a granny square? Check out this tutorial to get the head start!
Crochet Abbreviations You’ll Need
This pattern uses common US crochet terms. If you’re new to crochet, this can feel like a new language! Use this quick guide to check if you’re familiar with the stitches. If you need a refresher on any of them, just click the link for a detailed tutorial.
- mr – magic ring
- ch – chain
- dc – double crochet
- sl st – slip stitch
The Granny Square Sweater Pattern Instructions
The construction of this sweater is simple and straightforward. You’ll make two large granny squares, seam them together, and then add your sleeves.
Step 1: The Granny Squares
You will crochet two identical granny squares. You can follow any standard granny square pattern, such as [My Basic Granny Square Tutorial here].
- Start with a magic ring or a chain and follow the instructions for the first few rounds.
- Continue crocheting your granny square in a repeating pattern of 3 double crochet stitches and a chain stitch in each corner space.
- Continue crocheting in rounds until your square is the desired size.
How to Size Your Square: To determine the size of your square, measure from the center of your chest to the tip of your shoulder. This measurement will be the side of your square. The width of your finished sweater will be double this measurement, and the length will be the same.
Step 2: Seaming the Squares
Once you have your two squares, it’s time to seam them together to form your sweater.
- Fold each square diagonally to find the halfway point.
- Place the two squares together with the right sides facing in.
- Seam along the sides using a single crochet stitch to join the front and back of your sweater. Leave an opening at the top for the neck hole and at the sides for your arms.
Step 3: Adding the Sleeves
Now, you will add the sleeves by working directly into the armholes you created.
- Attach your yarn at the bottom of the armhole and work in the round using single crochets or double crochets, as you prefer.
- Continue to work in the round, decreasing stitches as needed, until you reach your desired sleeve length.
Step 4: Finishing Touches
Add ribbing or a border to the cuffs, hem, and neck hole for a clean, polished finish.
Share Your Finished Sweater!
We would love to see your finished sweater! If you make one, be sure to tag us on Instagram or use the hashtag #TwoSquareGrannySweater so we can see your beautiful work!
A huge thank you to my cousin, purpleVal, for designing this incredible pattern and for allowing me to share it with you all!